


613
Shop
Shop
 Bird Feeder Cameras
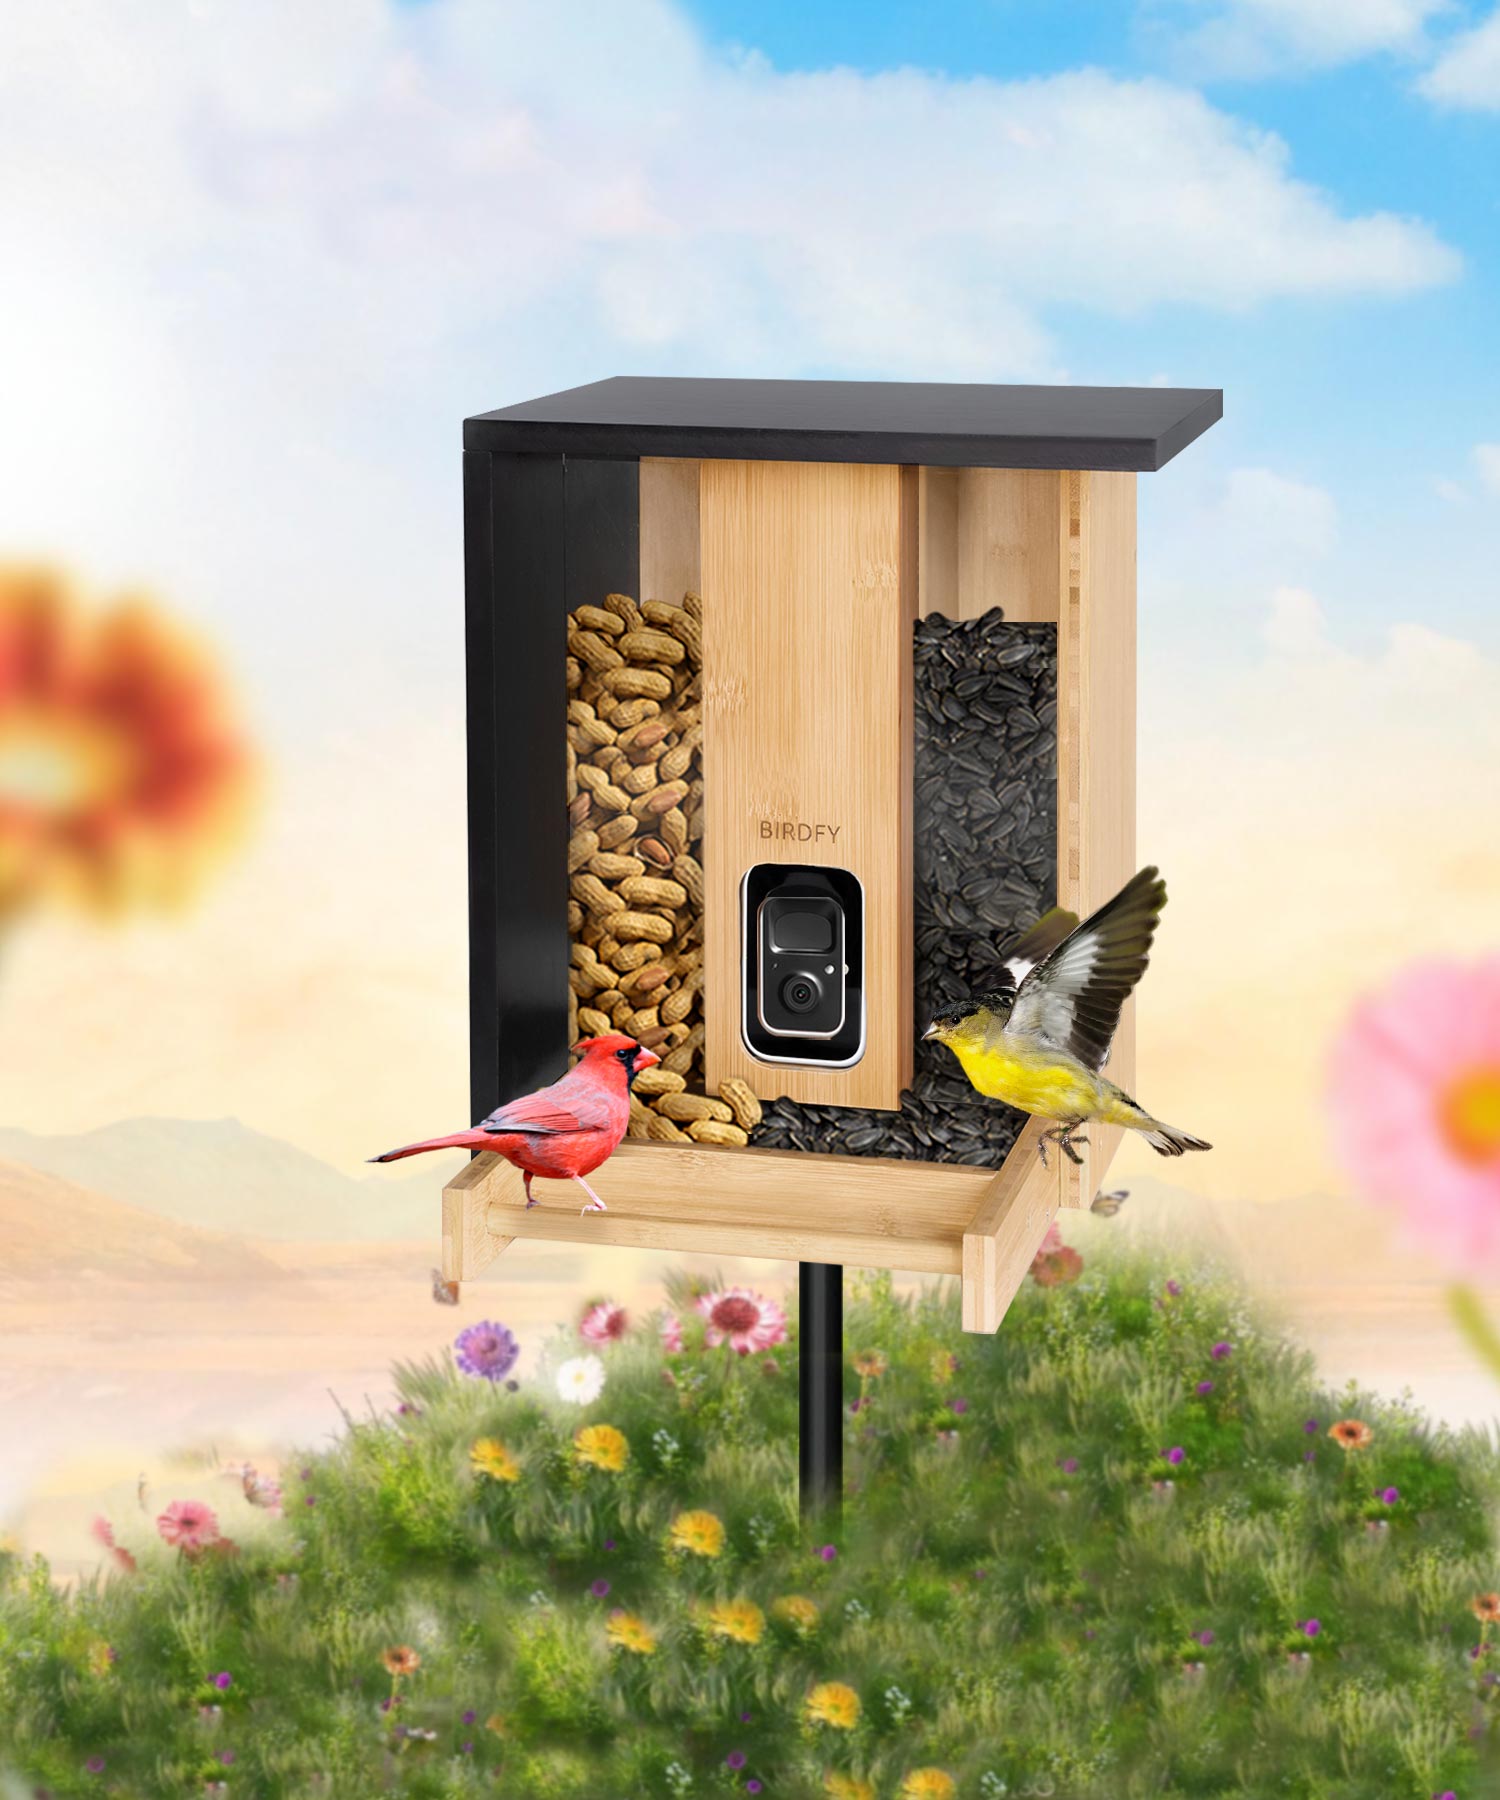
 Birdfy Bamboo Series
 Birdfy Hummingbird Feeders
 Birding Station Setup
 Add-Ons
 Replacement

8% OFF

How to Install the Solar Panel on a Pole

How to Assemble and Clean Your Humme Extension

How to Mount Your Birdfy Feeder Bamboo on a Pole
Show
per page


